
How to plan a small broadcast studio layout from an empty room
A practical walk through measuring a bare room, placing sets, desks and cameras, and leaving space for acoustics and cabling before any equipment is ordered.
6 minutes to read
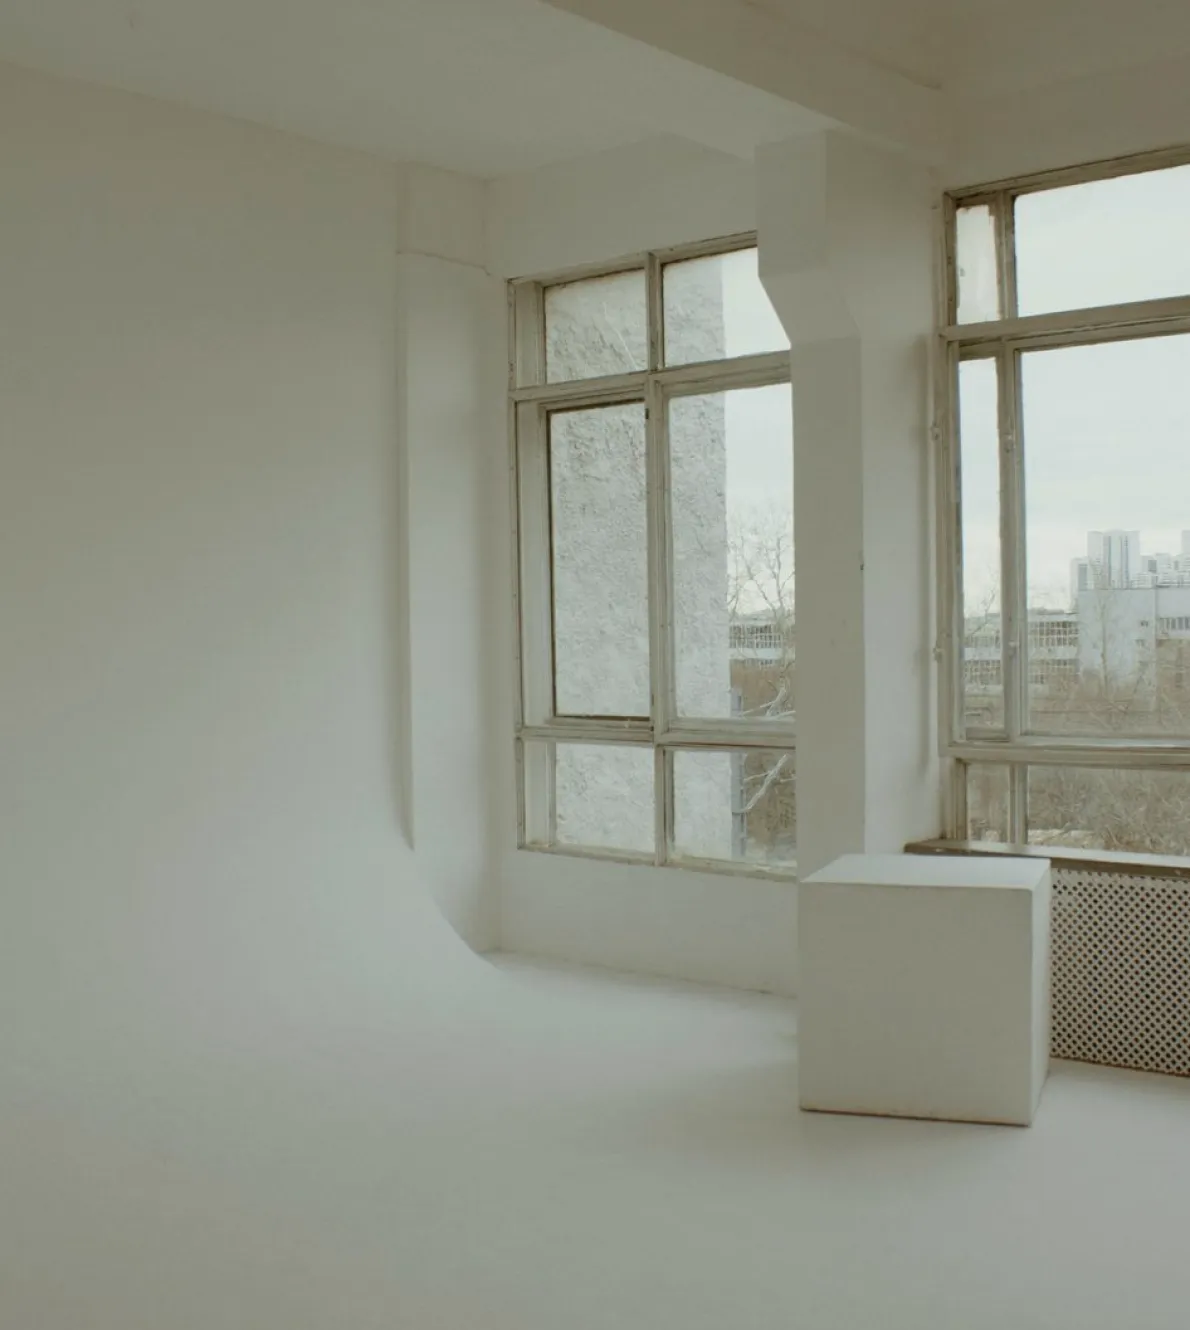
Start with the room, not the equipment list
Most studio plans go wrong because the equipment list arrives before the room has been measured. Before anything is chosen, walk the space with a tape, a notebook and a torch. Record length, width and ceiling height, then note every door, radiator, window, pillar and power point. A room that looks generous when empty loses a surprising amount of floor once a desk, a backdrop and a camera track are in it.
I come to this from the sound side, so the first thing I check is what the room does to a voice. Clap once in the middle and listen for the ring. Bare plaster and large windows will flutter and echo, and that decision shapes where everything else can go. Note any hum from ventilation or a nearby road, because those noises are far easier to design around than to fix after installation.
- Measure floor, ceiling height and door widths
- Mark every socket, window and radiator on a sketch
- Clap in the centre and note how long the room rings
- Listen for traffic, plant and ventilation noise
Draw a floor plan before any furniture moves
Sketch the room to scale on squared paper or a simple drawing tool, then cut paper shapes for the desk, the sofa, the camera positions and the lighting stands. Moving paper costs nothing, while moving a fixed desk costs a day. Place the main set first, because it decides where the cameras stand and how far they sit from the subject.
Leave a working lane behind the cameras. Operators need room to pan, and presenters need a clear route to the set that avoids cables and does not pass in front of a lens. As a rule of thumb, keep the set away from the long walls if you can, so that reflections have somewhere to go. Draw the door swing too, since a door that opens into a shot is a common and avoidable annoyance.
- Use paper cut-outs at scale before committing
- Keep a clear lane behind each camera
- Keep the set away from reflective walls where possible
- Draw door swings so nothing blocks a shot
Treat the sound of the room early
Acoustic treatment is cheaper and more effective when it is planned with the layout rather than added afterwards. Hard parallel walls cause flutter echo, so break them up with absorbent panels placed at head height around where people will speak. A rug, curtains and a few well placed panels often do more than expensive microphones ever will.
Do not cover every surface in foam. A dead room sounds unnatural and tires the ear, while a room with some controlled reflection sounds lively and human. Aim for speech that is clear at normal volume with no obvious ring. Test by recording a short voice sample from the planned presenter position, listening on headphones, and moving panels until the recording sounds close to how the person sounds in conversation.
- Break up parallel walls with absorbent panels
- Place treatment at head height near speakers
- Avoid over-damping the whole room
- Record a voice sample and judge it on headphones
Plan cabling as a route, not an afterthought
Every cable in a studio has a start, an end and a path, and it helps to write all three down. List each source, such as cameras, microphones, monitors and lights, and mark where it plugs in. Then draw the route on your floor plan, using wall edges, floor ducts or overhead trays rather than open floor wherever possible.
Keep power and signal cables apart. Mains cables running alongside microphone or video lines can introduce hum and interference, so cross them at right angles and never bundle them together. Leave spare capacity in every conduit, because a studio always gains equipment over time. Label both ends of every run with the same short code, and keep a printed copy of the cable list in the room, where the next person to troubleshoot will actually find it.
- List every source, destination and route
- Separate power cables from signal cables
- Cross different cable types at right angles
- Label both ends and keep a printed list in the room
Think about people, safety and daily use
A studio is a workplace as much as a set. Check that escape routes stay clear, that cables crossing walkways are covered or raised, and that lighting stands are weighted or secured. Consider how many people will be in the room at once, including guests, floor staff and a producer, and make sure there is somewhere sensible for each to stand or sit.
Heat is easy to forget. Lights and equipment racks warm a small room quickly, and fans that fix this can add noise to the recording. Plan ventilation that is quiet, or place noisy equipment in a separate cupboard or corner with proper airflow. Finally, think about the routine: where coats go, where guests wait, and where the next presenter prepares while a recording is under way.
- Keep escape routes clear at all times
- Cover or raise cables across walkways
- Plan quiet ventilation for lights and racks
- Give guests and floor staff a defined place to wait
Review the plan with a dry run
Before buying or installing anything, do a walk-through with the people who will use the space. Place chairs where the desk will be, stand where the cameras will go, and ask presenters and operators to move through a typical session. Small problems appear quickly: a sightline blocked by a pillar, a socket on the wrong wall, a doorway too narrow for a flight case.
Write down each problem and adjust the drawing, then repeat the walk-through. Two rounds usually settle the layout. Keep the final plan, the cable list and the acoustic notes together in one folder, because they become the reference for every later change. A studio that has been planned this way is easier to extend, easier to repair and far easier to hand over to a new crew.
- Walk through with presenters and operators
- Check sightlines, sockets and door widths
- Revise the drawing and repeat once
- Keep plan, cable list and acoustic notes together
A workable small studio comes from patient preparation rather than expensive kit. Measure the room honestly, test it by ear, draw the layout on paper, plan every cable as a route, and rehearse with the people who will use it. Each step is cheap compared with fixing a mistake after installation, and together they leave you with a space that sounds clear, runs safely and can grow with your productions.
Ask for a quote
Write to us: hello@newsymph.net